Follow these steps to add a new administrator wordpress user using PHPmyadmin. After completing these steps, you will able to log into your wordpress site like normal and with full admin privileges.
1. Navigate to your PHPMYADMIN portal.
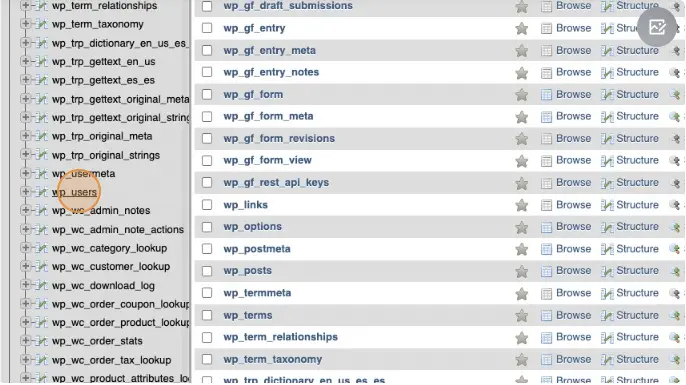
2. Click “wp_users” in the left menu bar. The suffix “wp” might be replaced with a custom suffix if your site has been customized in that way.
3. Click “Insert” at the top of the window.

4. Click the top text field for ID and enter a unique user ID. You will be using this later, so either remember or save that somewhere.

5. Select the text field for user_login and enter a unique username without spaces. We recommend avoiding special characters as well

6. In the user_pass, enter a strong password for the account. This will be the same password you will use to login to the wp-admin portal.
7. IMPORTANT: In the dropdown next to your new password, select MD5 from the list of encryption options.

8. In the user_nicename field enter a nice username. Use dashes to replaces any spaces.

9. In the user_email field, enter your user’s email address.

10. Leave user_status as 0 or set to 0 if it defaults to another value.

11. Add your display name to the display_name field.

12. Click the “Go” button in the lower right. In some instances, you may need to click “go” again the next page shown. You should see a green banner letting you know that it worked.

13. Click “wp_usermeta” in the left menu.

14. Click “insert” at the top of the window.

15. Enter your user Id in to the user_id field. This is the same number from step 4.

16. In the meta_key field enter wp_capabilities

17. In the meta_value field enter a:1:{s:13:"administrator";b:1;}

18. Click the “Go” button. You may need to click “Go” on the next window that appears. If you get a green confirmation message, then that worked.

19. Click “Insert” at the top of the window again.

20. In the user_id enter the same number from step #4.
21. In the meta_key field enter: wp_user_level

22. In the meta_value field enter 10

22. Click the “Go” button. You may need to click “Go” on the next window that appears. If you get a green confirmation message, then that worked.
You should be ready to login to your wordpress site through your normal login portal with either the email or username you created and the password you added!